

Here is my totally re-done grandmother's secretary desk. I am smitten with it and I hope you are too. If you are interested in reading the story behind this desk, click on this link to my blog from April 1st and get the lowdown.
The original 1940's Secretary desk. (Before Image)

So, I took the knobs off and sanded the finish off all the surfaces.


I then wiped down the desk to get off the dust and grime, then added a coat of Sherwin Williams All Surface Enamel Latex Primer. Had a little mishap with the primer dripping on my paver patio. If you click on this link for my April 4th blog entitled "Oops! No.....no Problem," you will see how I remedied that problem.


Then, for a little surprise! I will be placing a few red accents on this piece and red will play a role in the motifs that I have loosely planned for this desk, so I decided to spray paint the inside of the desk. I used two coats of Rust-Oleum Painter's Touch Ultra Cover spray paint in Satin Colonial Red. It's a rich, dark red that will go well with the motifs I am planning for the drawers. I love surprises. Nothing like a little surprise for when someone opens the desk!

 TIP! When doing this kind of work, preparation is so important. Since I had already painted the outside of this desk and I didn't want to mess that up, I masked off the areas closest to the inside. I used blue painter tape and visqueen. I also, propped up the fold out with a stick on a soft cloth so not to scratch the blue paint that was still setting up to a hard surface. Important also to note.... As soon the second thin layer of red paint was done, I took the masking tape off. If you let the paint dry completely, the tape will sometimes take a little of it up. A big bummer you want to avoid.
I let all of this set up for about 48 hours. I then came back for a full day of work on this bad boy. (Yes, secretaries can be men. Get up to date, will ya?!)
 The NEVER-Ending-Never-gonna stop till I drop day of excitement was here! Yeah! I set up a little studio near the back door so that I could easily pull the piece inside and outside as needed. I knew this was gonna get messy and rain clouds kept drifting by. Couldn't take the chance!
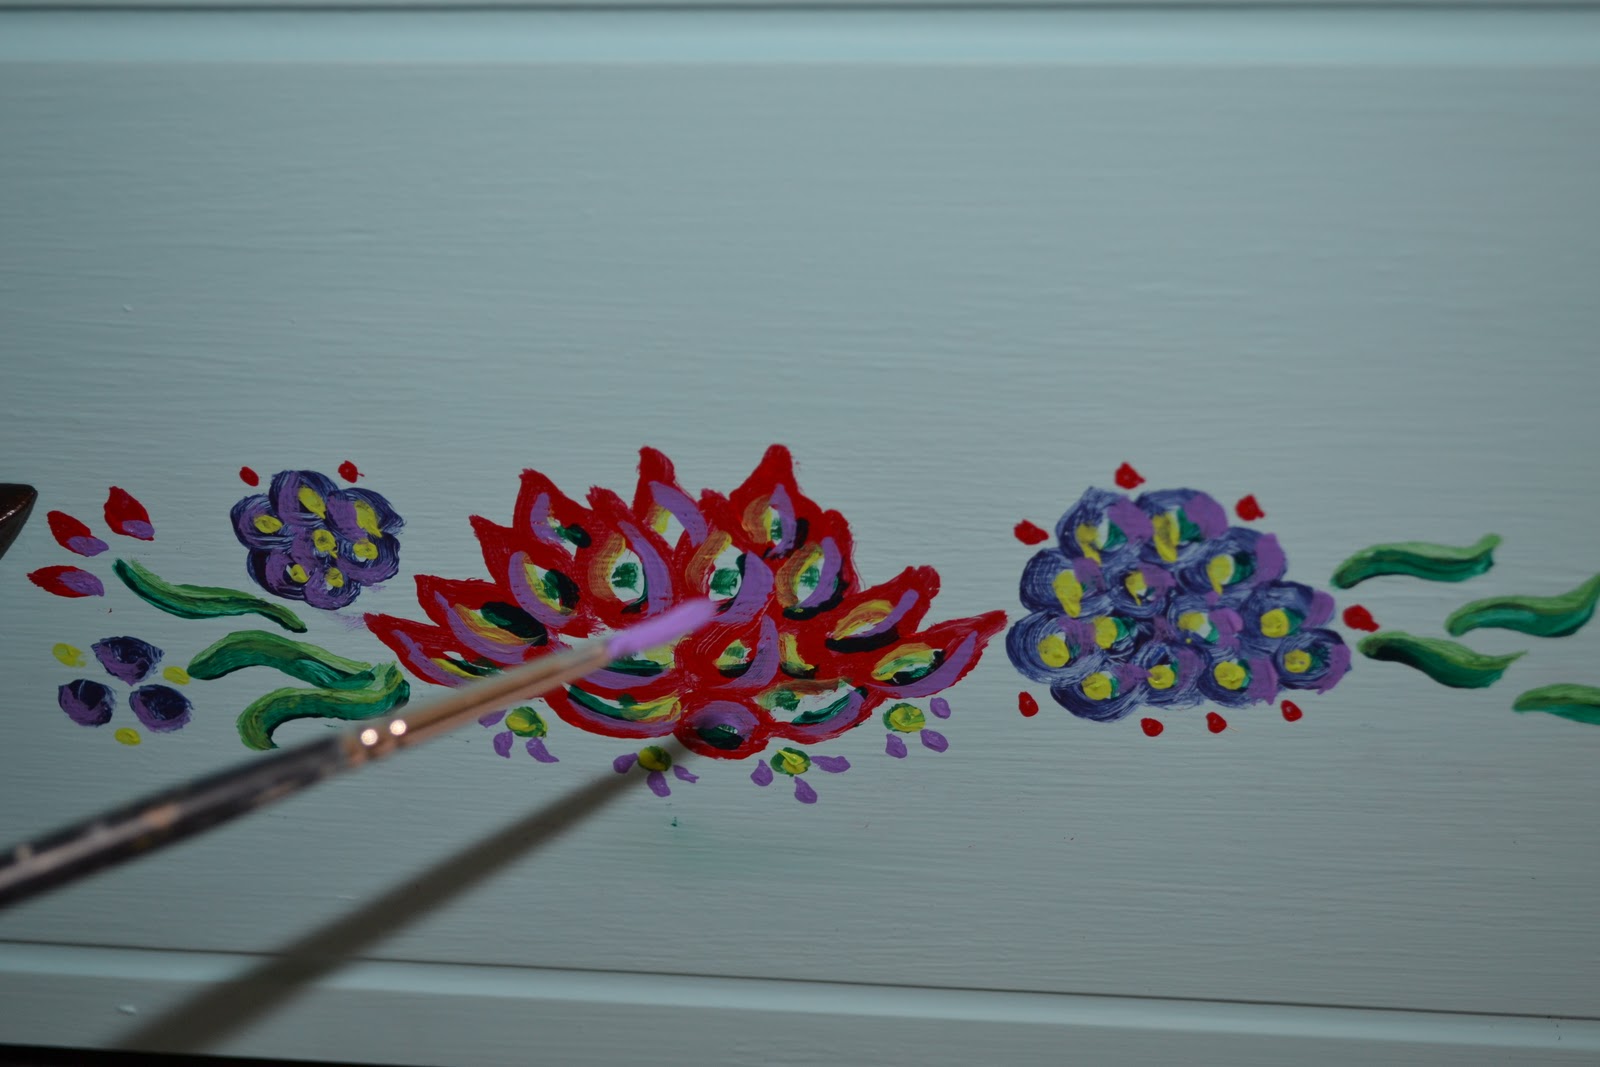
I found inspiration for the motifs I hand painted from a series of my paintings that are hung in the adjacent dining room. But I laid it out in a pattern that was more conducive to the style of the desk. I didn't spend a lot of time thinking about this.... I like to work intuitively....quickly mixing colors and changing out brushes frequently. I don't use marks or pencil. I find that restricting. If I make a mistake, it's acrylic paint! I wait for it to dry and paint over!
-A painting from the series I used for inspiration -

Here are a few detail shots of the process of painting the motifs.....


Okay....so...something funny here. I needed to make sure that each design motif fit properly between the handles, so I loosely attached them back to the drawers. (Image to the right.) It wasn't until after I finished that I realized that I put them on upside down! Frantically, I switched them around. I was totally freaking out because I thought they would definitely cover part of the motifs. PHEW! It still worked and I counted myself one luck puppy.
 So then, it was time for my handy, dandy Black and Decker Mouse. Where oh where would I be without my Mouse?! I dragged the desk back outside. Using 220 grit pads, I started distressing the desk. I focused on areas that would have seen natural wear, like edges of the drawers, legs and shelves.
My son was home sick this day. At one point, he calls out to me and asks, "Mom, what the heck is going on out there for an hour and a half?" I chuckle to myself, ask him how he is doing, reassure him that I am not murdering anyone and whistle my way forward.
I made sure to heavily distress around the keyhole area. This area would have also naturally seen a lot of wear. I got this idea from Miss Mustard Seed. Gotta give her props.

I also added these little accents in a pretty heavy, haphazard pattern all over the desk except for the shelf tops because I didn't want to weaken their hard surfaces.

I made sure to grind the distress marks over the motifs because they would have seen equal wear over time.


The below image shows the amount of stain that I used on a single surface. There were areas that I came back to and added a second layer of stain making sure to rub it into my distress marks.
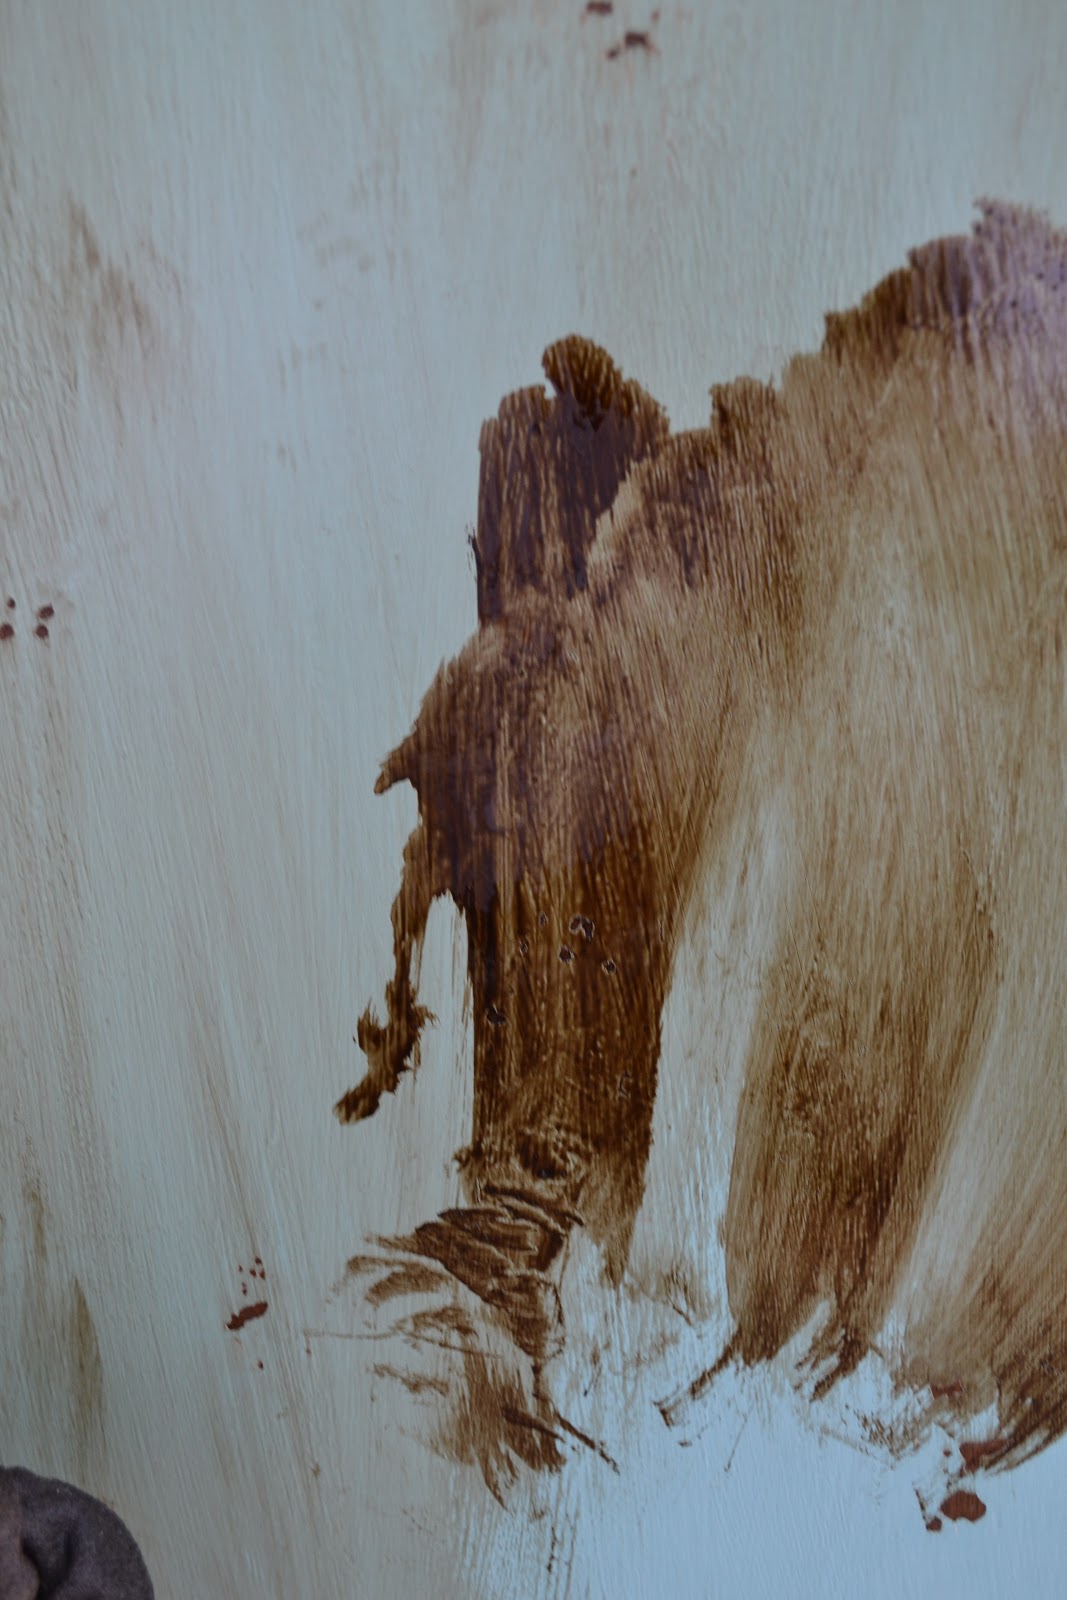
I don't wear gloves.....Yes, I know that I should. But I just don't have the same control with gloves on my hands. This stain does wash off pretty easily with a little bit of Goof Off. (not Goo Gone) But alas, my hands are just not ever going to be all pretty and dainty. Nothing that a quick trip to the nail salon can't take care of in the event they need to be presentable for....whomever. Does that really matter anyway? (That's a conversation for another day.)

So, at this stage I realize that the drawer handles are going to need some distressing. They just won't look right in the original, dark finish. I take out the Mouse and give it a little spin.

There, that looks better......
So, I let the stain set up for 48 hours and come back with Min Wax Finishing Wax in Natural as a sealer. Make sure that you let the wax coating dry completely before buffing. It makes a difference.
So the final results! Yeah!


 Ah, just love that red interior!

Here it is all dressed up and back in it's spot!!! So happy with the results!

So, for some "Before and After" Images.....

 |
| After |
 |
| Before |
So, a few little details.... I used this opportunity to fix a few things. I bought new 1 1/2 inch wood screws to re-attach the handle pulls. The ones that were previously holding the handles were a mess and there were a few that didn't actually fit correctly. Also, the little finishing piece on the top of the desk has been loose for years. I took a moment to use a little wood glue to securely attached it to the top. I can't tell you how many times it has fallen off. Good thing is wasn't broken. Now, it's secure.
All in all, I am very pleased with the outcome. It looks amazing in my living room. The deadlines, the mess, the dust and the sweat were all worth it. So now.....on to the next project! Yippee!!!
-The End-
This desk was featured on the blog,

Linking this to:


29 comments:
I have to say that I was upset you were going to screw with that beautiful natural wood, but I said I would wait to comment until I saw your finished piece. Well I'm glad I waited because it's gorgeous. I want you to come re-do my house....K?
Haha, Sue..I was thinking the same about the wood..but WOW. Beautiful job, and I am so diggin' the red interior!
WOW! Your detail painting is amazing! The red pop of color inside is my fave though! What a fab job you did, it looks awesome!
Kim
www.kim-toomuchtimeonmyhnads.blogspot.com
It looks amazing, I have seen a lot of people using the wax, I want to give it a try. Looks great!
Oh my gosh!!! This is a GORGEOUS piece! I love, love, love the motif and the distressing...it's perfect! And YES you need to wear some gloves! I'm following you - JenT
What a fantastic transformation! You did an awesome job and I KNOW how time consuming it is to paint in each slot of those desks! The painting detail is beautiful. One of a kind!
Oh, I love how that turned out- Adding the stain, sure made it.. Love that technique..
Might try that...
Happy new Fllowr..
Karryann
Just Beautiful
WOW---can't wait to see it in person---have looked at that piece for half a century!
Love love, LOVE that! Um, I have a couple of pieces that need that treatment, feel free to pop by and see me in Oregon if you have the chance! :)
Sheila
It really turned out amazing. So much fun to read about the daily progress. Can't wait to see it in person! Now, I am excited for your next project!
It looks great! Good job!
Love it love it! You are very talented! Your newest follower...hope you can visit me sometime soon!
Wow..you worked so hard on this piece, and it looks like it was totally worth it! The pic of your hand cracked me up~ I usually just get it on my fingers and the backs of my hands~ you are definetely the winner! :)
wow. i really thought the paint was original it looks that freaking good!!!
Beautiful transformation...you did such an amazing job on this...I love it :)
Big hugs,
Queenie
wow, that's a beaut! Lots of work, but well worth it.
I like the surprise of red! :)
gail
My oh my, this turned out just beautiful. It was a pretty piece before but you took it from being a wallflower to the belle of the ball.
you did a good job. love the color.
kathryn
www.thedragonsfairytail.blogspot.com
Wonderful job!! Love the red interior! How fun!
Karen
www.never-enough-thyme-creations.blogspot.com
great job!! it turned out great. love the red interior! thanks for linking up!
I love the pop of the interior red...great after!
Please share this with my readers @Creative Juice Thursday. Hope to see yours among all the amazing projects!
Great job on the secretary! Really appreciate you sharing this great post with us at the Creative Bloggers' Party & Hop :)
You are so talented. I just painted today using stain and I recalled quickly I best wear some gloves. thanks again for joining me.
Wow! Great job, I love the transformation.
Visiting from DebbieDoos Newbie Party.
Gayle from Vintage Farmhouse
Looks BEAUTIFUL!! Martina
This is an awesome job. Love the detail and colors. Good job. found you on Debbie Doos and am a new follower.
Laurie
Wonderful job! I just shared this on Twitter :-)
What an amazing job you did on this piece. The colors are just beautiful. Visiting from Debbie Doo's and now following you!
Marianne :)
This is absolutely fabulous!! The red really started my heart jumping for joy ~ my favorite color. So glad you added it as well as the motifs you painted. I would not have a clue as to doing this. :-) My daughter has a wonderful "vision" too ~ you two would be great decorating together.
I came by from Debbiedoo's and I'm a new follower. I look forward to getting to know you and seeing more of your creativity. Stop by when you can and say hi...there's a giveaway going now.
Pat
Post a Comment