
Make a terrarium is pretty darn easy. You need a few supplies, with one very key ingredient.

Glass, lidded jar
Assorted Stones and Whatnot
New Potting Soil
Activated Charcoal (key ingredient)
Moss (can be the bagged Spanish)
Assorted mini plants sold in the indoor plant area
Small spade, trimmers.
Optional chopsticks to help place stuff down narrow necked jars
Take a handful of assorted stones, shells, marbles.....whatever you have laying around. I have a tendency to pick up a lot of bags of this stuff when on clearance at my favorite stores, like Pier One. I put them away until something like this project begs me to bring them out. I also collect stones, rocks and shells whenever I am visiting nature on vacations or outings. Place a few handfuls in the bottom of the jar. If there is ever an over watering issue, the rocks will help with drainage. This is key to not killing your plants!

This will help with drainage which is a key to growing a successful terrarium.
 |
| Moss over the rock bed. |
 |
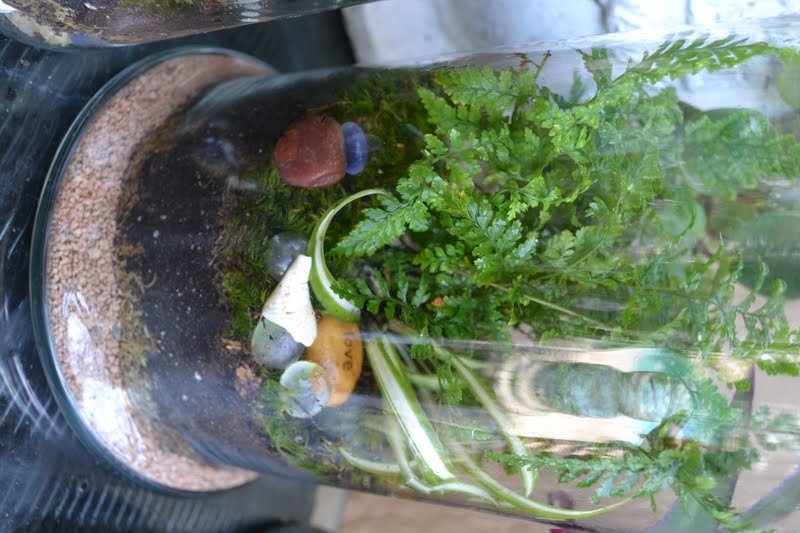
| Fern, Moss, spider plants. |
This process is messy, so I am hoping you have set yourself up in a good location for clean up!


Water the plants down by spraying them with water. I prefer to spray them heavily instead of pouring water because I can add more. It is difficult to get the water out, once you have put it in the terrarium. Here are a few images of the terrariums that I completed this week.


I hope these simple instructions help inspire you to create your own terrariums. I will be giving these as gift throughout the summer, so they will be resting here in the shade under my care until then. I am also working on a few gift tag accents that I think are pretty darn sweet! Get planting.
-The End-
3 comments:
Lesley your terrariums look beautiful!! Love them! Martina
PS- you should share this at Debbie's newbie party:)
Beautiful!!! Like the added touch of the stones w/ messages!
Post a Comment