Showing posts with label Features. Show all posts

Tuesday, January 17, 2012

How To: Vintage Mantel Gets a Makeover


I have owned a vintage fireplace mantel for over a decade.  I bought it at an outdoor flea market during the year we lived in Atlanta. Getting it home on the top of my SUV while driving the Perimeter Highway in Atlanta was a harrowing experience to say the least!  It's a miracle it made it home without flying off and causing a 50 car pile up!

U G L Y.  Oh the things you do for your kids!
I bought it for my daughter's then-vintage pink and white little girl bedroom. It had shabby, chippy white paint and looked sweet set up with a little table and tea set, baskets of books and a few blankets.  But, as she grew, her love affair with this mantel didn't grow and when we moved into this home 7 years ago, she would only keep it in her room if we painted it to match the crazy purple, pink and black decor of her room.  We painted it and added a cork board to the fireplace opening.  This past Spring when she decided she needed a more grown up teen room, she came to me and carefully let me know that the mantel was, well...too girly for her new sophisticated design sense.  Kids grow up and do things like having their ideas. Sigh.  We removed it from the wall and placed it in the garage.

This past summer, I completed a huge transformation on our master bedroom and I decided to bring this mantel back to it's good ole shabby, vintage condition.  The walls are white bead board and yellow paint, so I wanted to give the mantel a slight contrast to the white and add an accent of yellow that would help it make sense in the room.


I first clean and lightly sanded the surfaces, taking care not to sand too hard because I didn't want that rough, chippy surface to be sanded away.  I started by painting the turn leg portions of the mantel with a mustard yellow.  I used Americana Craft Paint in Mustard Seed. Yep, that's right...a craft paint.  I liked the shade and knew that two coats of this as an accent would be perfect.  Here is what it looked like at this point. Don't get too worried, this is all going to work out!!  (Sunglasses required)
Notice that I did a real messy job getting paint all over the background surface?  Well, I didn't spend a lot of time trying to be neat because I knew that I would be covering up those spots with the main paint color.  I let this surface cure for a few days and then came back with two coats of ASCP in Creme.  I chose Creme because I wanted that slight warm, cremey tone to create a little contrast to the stark white of the bead board.  I waited a full day between coats.  I then finished it off with a good smattering of Fiddles and Sons clear soft wax.  Here are the results.


Love how that yellow peeks through showing off the little details in the surface!

I haven't gotten a chance to get this monster set up into my Master Bedroom. I really wanted to show it to you finished.  When I get it in place, I promise to come back and show you what it looks like against the white bead board and  painted yellow wall!

Here's a little before and after...


What an improvement!  This mantel is finally made it's way back to yummy-ness!!  Hope you like it!  I haven't showed it to my daughter yet.  Wonder what her reaction will be?  Who cares...it's mine now! (wink)

-The End-
Linking this post:
WHISPER WOOD COTTAGE - 1st Project of the Year
504 Main


Saturday, December 17, 2011

25 Days of Christmas and Holiday Series: Day 17

Fun and Festive Holiday Snow Globes/Mini Jar Cloches

We have all seen a ton of those little faux snow globes all over the blogs and Pin Interest.  You know the ones...made with mason jars with little snowy scenes inside?  Most of them do not have water in them, so I am hesitant to call them just snow globes because they are more like Mini Jar Cloches.  Don't you think?!  Anyway, I was wanting to tackle this project with my own twist or vision on it.  So here is what I did.

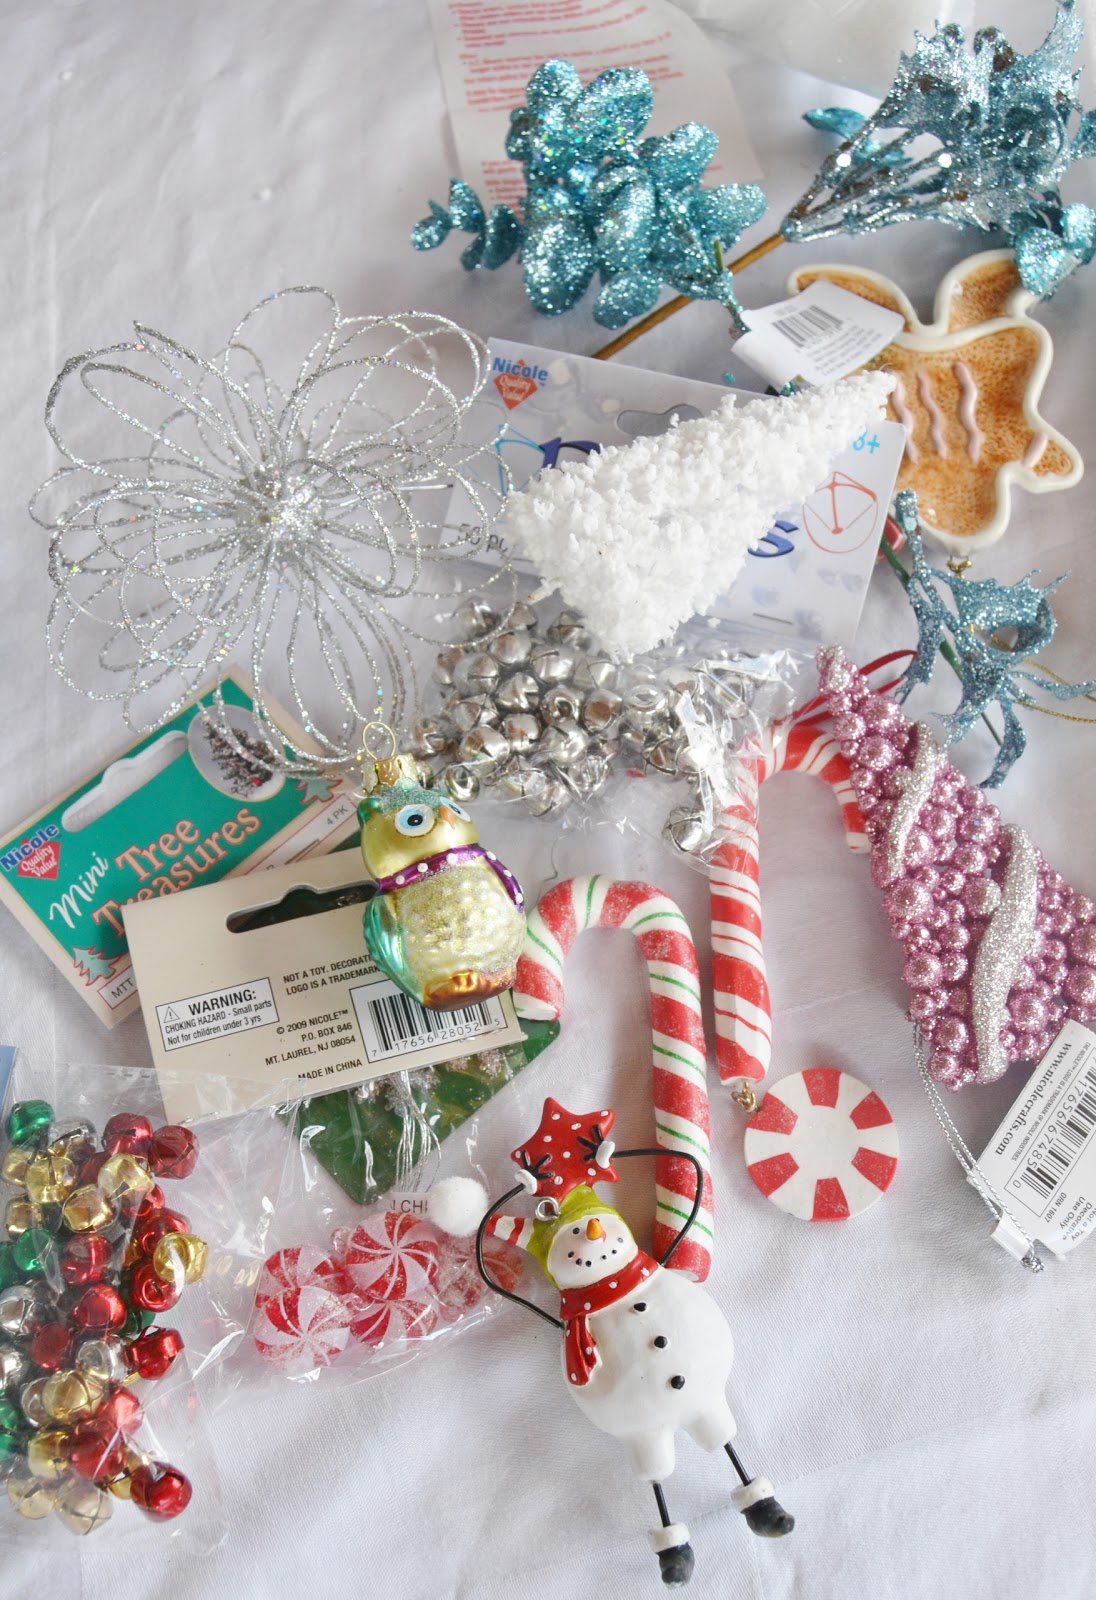
Collected up some supplies...little pretties and a few Dollar Store jars and couple of jars I picked up at Goodwill because I thought the triangular shape of them was different.
Pretty stuff.  Assorted Mini Ornaments from
Pier One, AC Moore and the Dollar Store.
Some tiny jingle bells, candies and picks with
berries.

I cut a circular piece of Styrofoam out and made sure that the circumference of it, once glued to the lid would still allow the jar to close.
The thickness of the circle is flexible.  Just make sure that
it isn't so thick that it takes up too much space in the jar once
closed, but thick enough to stabilize the materials when stuck
into the Styrofoam.
Before you glue the Styrofoam disk down to the inside of the lid, create you mini snowy scene using hot glue to stabilize the elements. 
I added the AC Moore snowman first
and then built the area around him varying the height and
the visual weight of the other elements around him.
A little froggy is stuck in the snow along with
jingle bells and candy. Finished the background
with a Dollar Store snowflake. I will be adding
snow to this scene later, so I glued the jingle bells
to little floral sticks, so they would
 show above the snow.
This darling owl is from Pier One Imports.  I
placed a little snowy Dollar Store tree and a
few little picks and baubles,
and shake of glitter in with him.
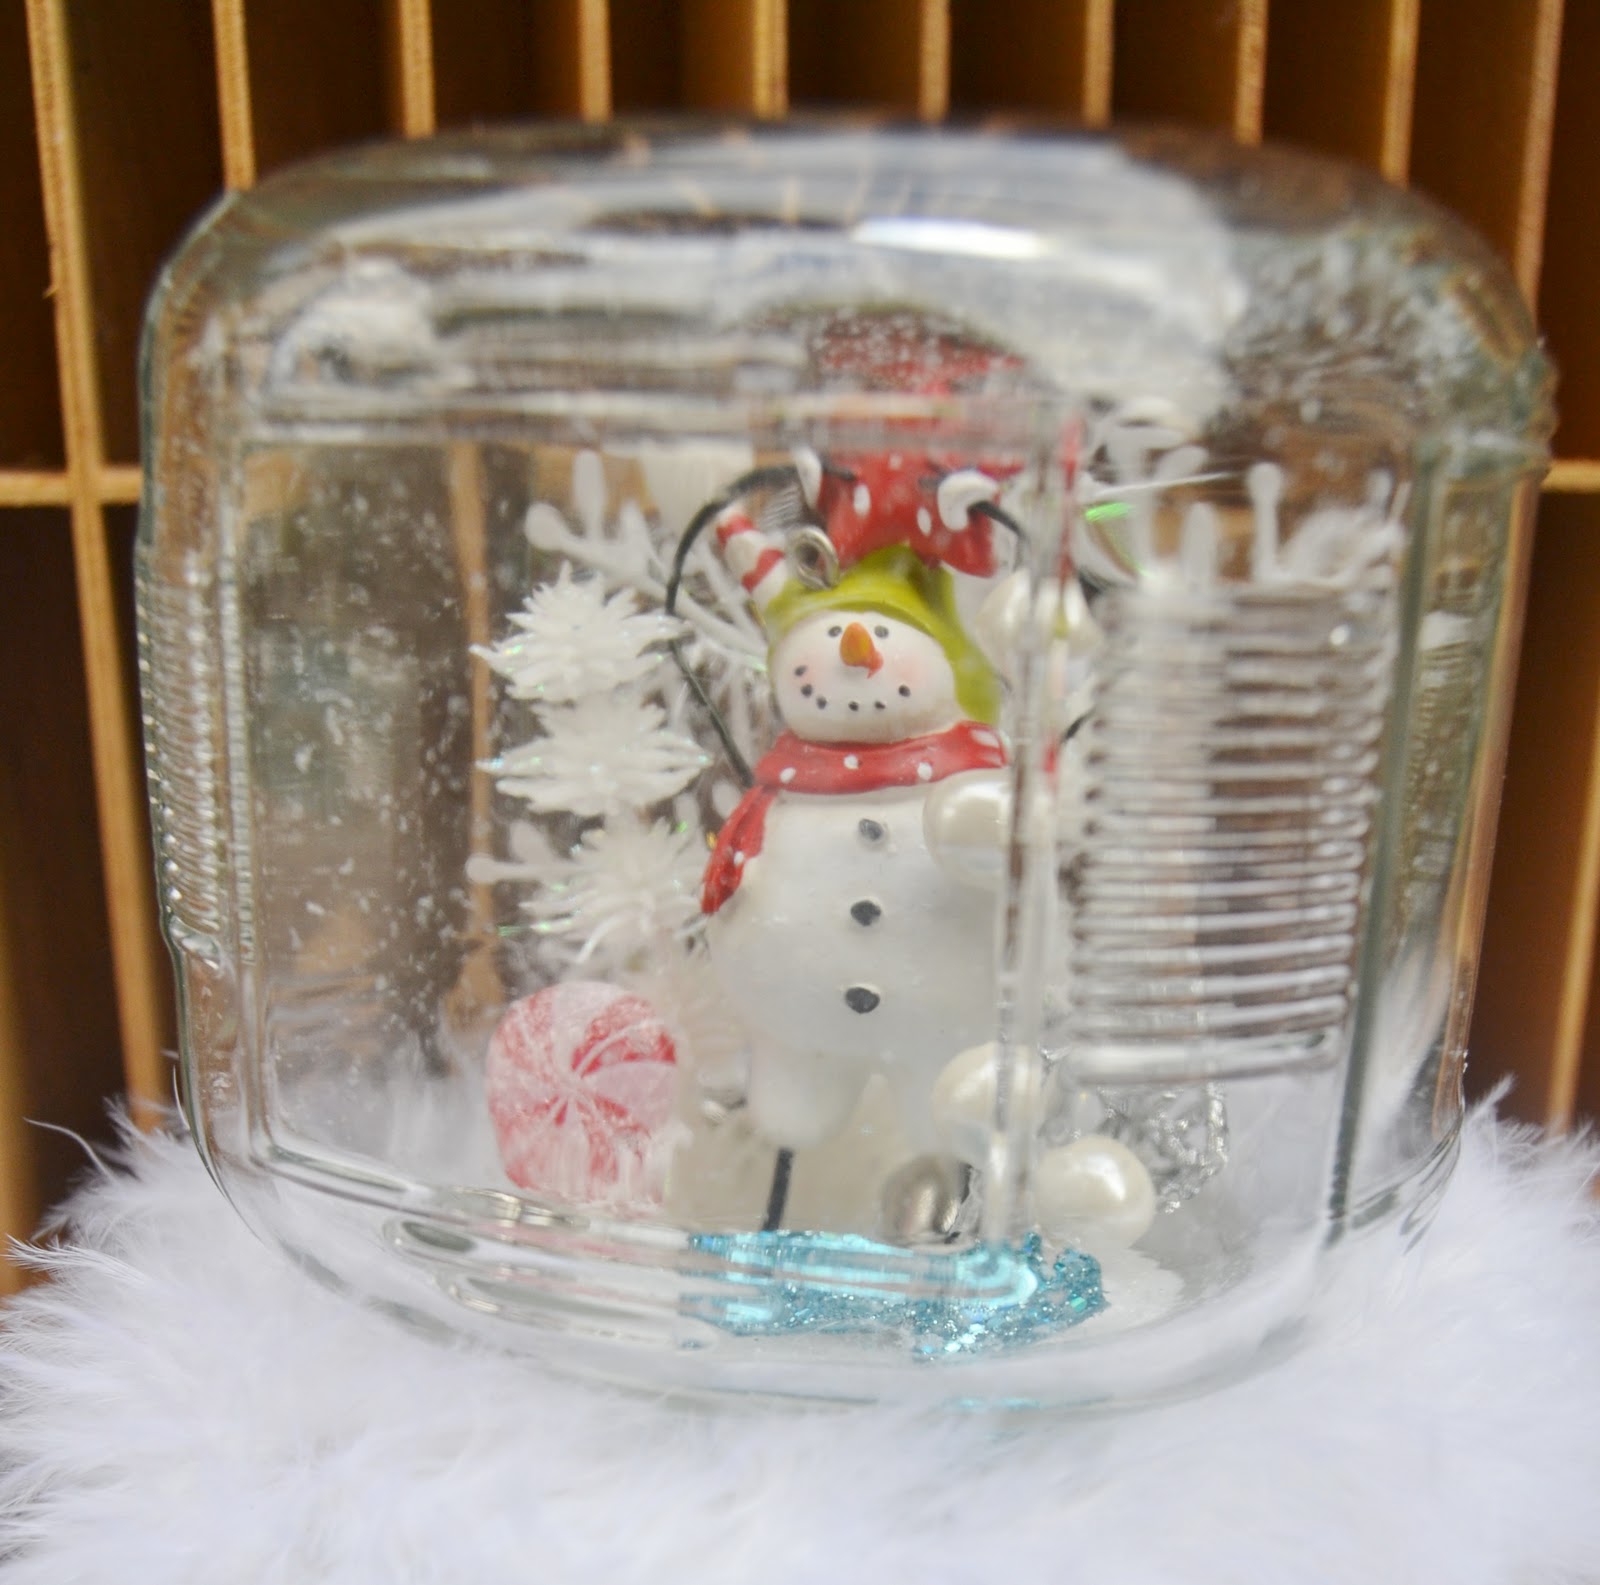
Now it was time to glue the Styrofoam down to the inside of the lid.  Important Tip!  My jars are slightly square with panels on all four sides for looking in.  I had to make sure and hot glue the base down in a position that once the jar was screw closed, my scene would be facing in that direction.  So before the hot glue set up, I placed the jar over the top and adjusted the placement.   Pay attention to this detail!

I added a handful of bagged fresh fallen snow, closed up the lid. Done.  Here are my results...


I also wanted to show you what I can up with for my Goodwill jars. I used these jars standing upright because I liked their lids and I wanted to do something different with these two jars.   I made a simple snowy tree motif with a few jingle bells in the jar because they are tall and narrow.  I then finished off the top with a few leftover birdies from my Bird Nest Ornament Project, a pick and a small bow.  Here are the results.


Fun afternoon project that is easily customized for a friend who like....well, frogs!  Or for myself, who likes....owls! Yeah me! 

We are getting down to the wire friends.  I am sure you all are in full holiday mode and busy busy busy.  I know I am.  The remainder of the projects are geared toward just that.  I will finish this week off with quick tips and ideas that might help you in the pinch.

Here's looking at you kid...


Don't forget to come back tomorrow for my
Day 18
of
25 Days of Christmas and Holiday Ideas and Gifts Series!!

-The End-
Featured at:

Linking this post to:


               Inspiration Avenue Weekly Challenge